Introduction
Getting stuck with a non-functioning Samsung TV can be frustrating, especially when the culprit is a faulty power board. This guide will provide you with the essential steps to diagnose and replace a defective power board. By the end of this article, you’ll be equipped to handle the replacement yourself, thereby saving on repair costs and extending the life of your TV.
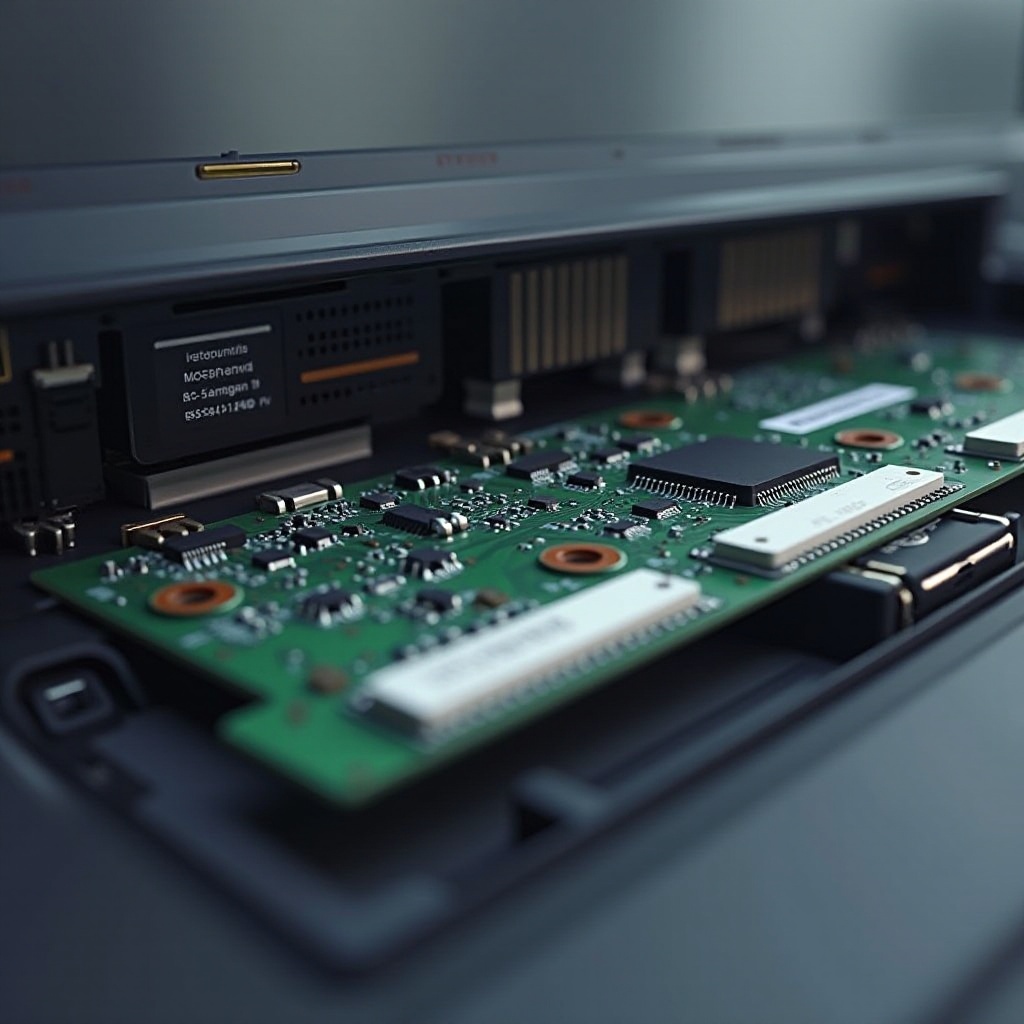
Understanding the Samsung TV Power Board
The power board is integral to the proper functioning of your Samsung TV, as it manages the electrical supply to essential components. Without it, your TV fails to operate. Going through this guide will help you understand the vital role it plays and why it may fail due to electrical surges, overheating, or internal defects. With this knowledge, you’ll be better prepared to conduct a successful replacement.
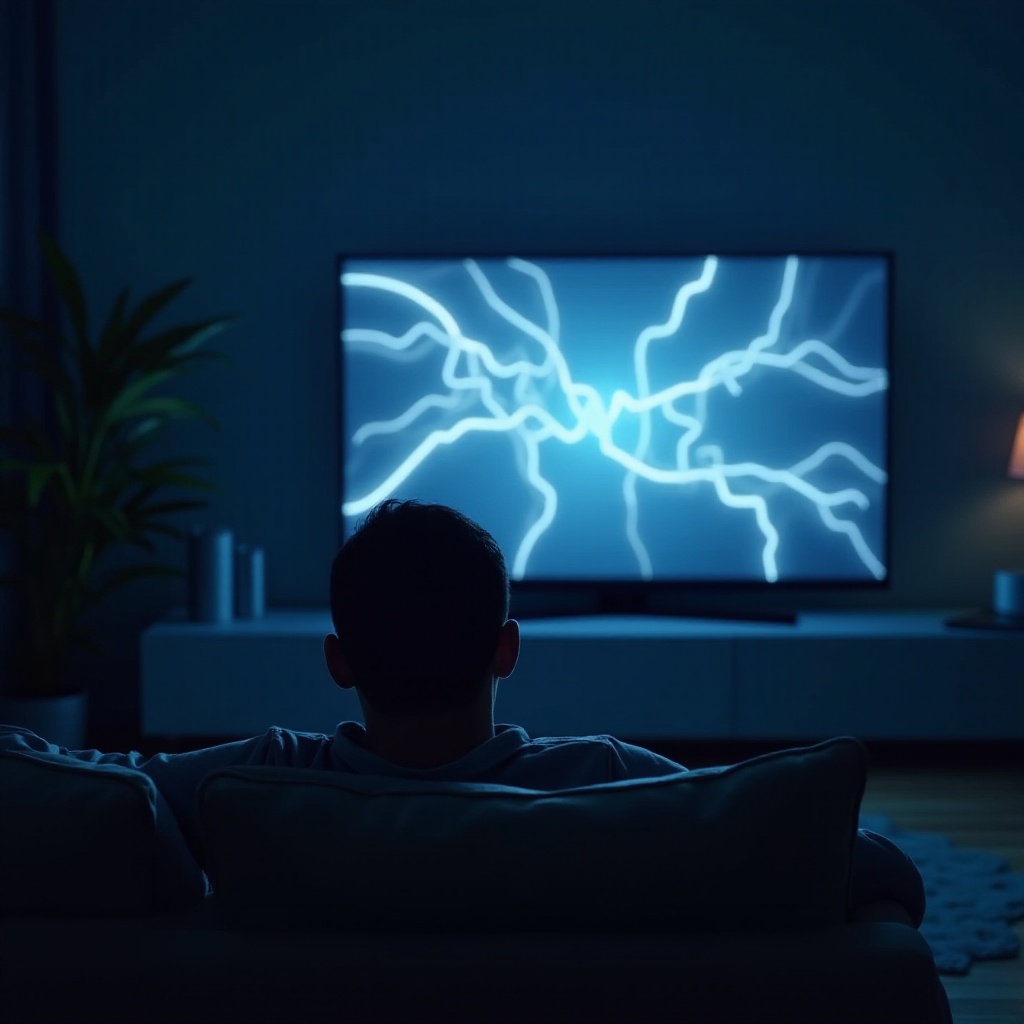
Symptoms of a Faulty Power Board
Being aware of the symptoms of a failing power board can save you a great deal of time and effort.
– Your TV won’t power on or consistently turns off without warning.
– The screen flickers or you hear unusual buzzing sounds.
– The standby light is on, but the TV does not activate.
Distinguishing these issues from other technical problems is crucial. For example, if the screen lights up but no image appears, the issue may not lie with the power board but elsewhere. Identifying these different indicators will help you avoid unnecessary repairs.
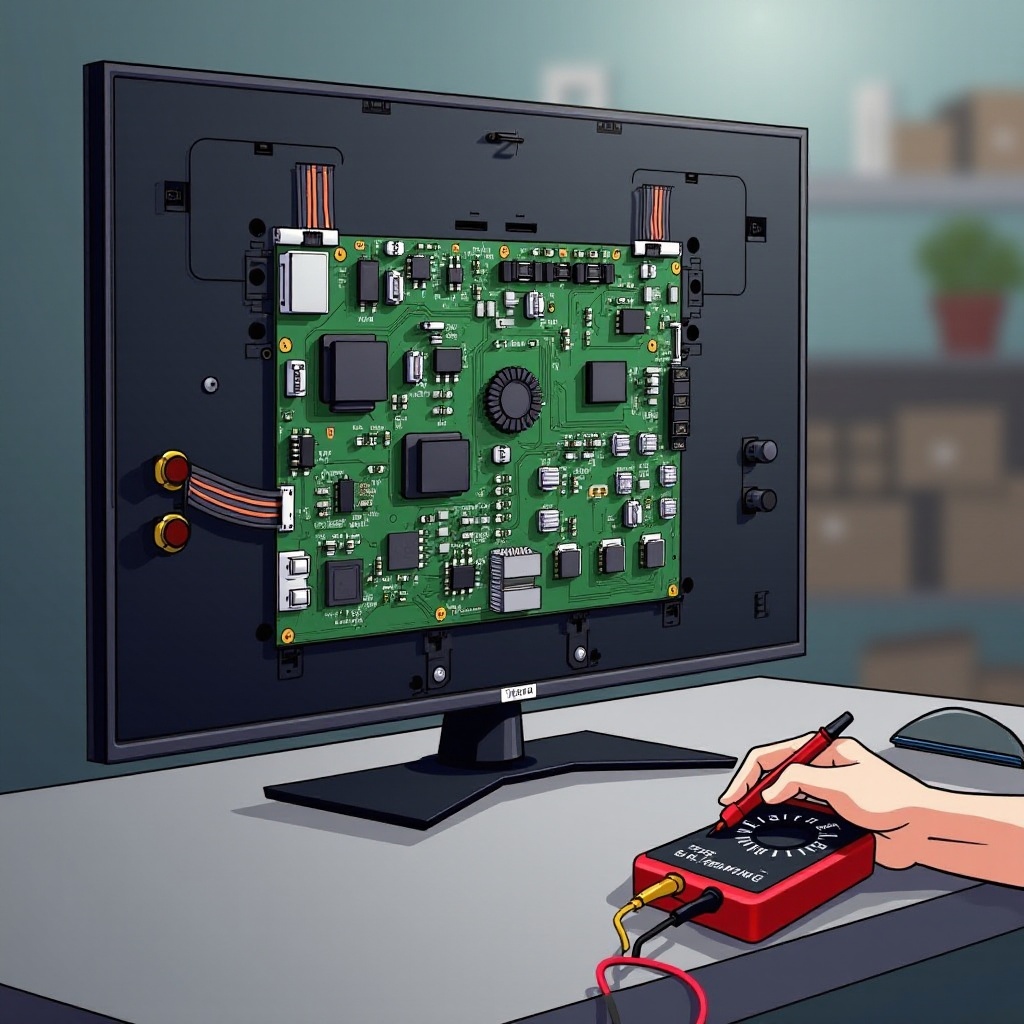
Preparing for Power Board Replacement
Proper preparation is essential before you undertake the replacement process. Safety should be your first concern, and having the right tools will streamline the operation.
– Safety Precautions: Always unplug your TV before handling any interior components. To prevent static discharge, consider using an anti-static wristband.
– Tools Needed: A screwdriver, a multimeter, and potentially needle-nose pliers will be required for this task.
Creating an organized work environment is also important. Make sure you have sufficient lighting and a clean surface to place the components you will be working on.
Step-by-Step Power Board Replacement Process
With your preparations complete, you’re ready to proceed with the actual replacement. Follow these steps to ensure successful installation:
1. Remove the Back Panel: Begin by using a screwdriver to extract the screws holding the TV back panel in place. Lift it off gently to expose the insides.
2. Identify and Remove the Faulty Power Board: Locate the power board, which is usually near where the power cord connects inside the TV. Carefully disconnect all attached cables, unscrew the board, and remove it from its fixture.
3. Install the New Power Board: Align the new power board where the old one was removed. Fasten it with screws and reattach all cables securely.
Ensuring every piece is secured will prevent operational issues once reassembled.
Testing and Troubleshooting Post-Replacement
After the replacement, testing your TV is a crucial step. Reconnect your TV to the power supply and turn it on to verify the fix. If the TV powers up without issues, the replacement was successful. Should problems persist, such as new symptoms not previously encountered, recheck each connection for errors.
If the issue is still not resolved, there may be another component at fault. Persistent troubleshooting efforts will assist in identifying and fixing these additional issues.
Long-Term Maintenance and Care
To avoid further issues with your power board, incorporate regular maintenance into your routine. Keeping both the interior and exterior parts of your TV in good condition can prolong the life of its components.
– Cleaning and Ventilation Tips: Dust is a frequent adversary. Clean your TV screen and vents with a soft cloth to keep dust at bay. Occasionally, open the back panel to blow out dust with compressed air.
– Preventive Maintenance Practices: Avoid placing the TV in tight spaces. Proper ventilation is essential to prevent overheating, which can damage the power board.
Routine checks and proper cleaning habits will ensure your TV’s longevity, enhancing your viewing experience over the years to come.
Conclusion
Replacing a power board in your Samsung TV need not be daunting. With a few tools and this guide, you can restore your TV’s function with confidence. By undertaking this repair yourself, you gain valuable troubleshooting knowledge and resourcefulness for future electrical dilemmas.
Frequently Asked Questions
What are the common causes of Samsung TV power board failure?
Common causes include electrical surges, overheating, and manufacturing defects. Using surge protectors and ensuring proper ventilation can reduce these risks.
How do I know if my Samsung TV power board needs replacing?
If your TV won’t power on, has a flickering screen, or makes buzzing noises, these may indicate a faulty power board.
Is it worth repairing the power board, or should I replace the TV?
Often, replacing the power board is more cost-effective than buying a new TV, especially if it is otherwise functional.